GeoDocker: Bootstrapping GeoMesa Accumulo and Spark on AWS
Getting started with spatio-temporal analysis with GeoMesa, Accumulo, and Spark on Amazon Web Services (AWS) is incredibly simple, thanks to the Geodocker project. The following guide describes how to bootstrap a GeoMesa Accumulo cluster using Amazon ElasticMapReduce (EMR) and Docker in order to ingest and query some sample data. This guide assumes you have an Amazon Web Services account already provisioned as well as an IAM key pair. To set up the AWS command line tools, follow the instructions found in the AWS online documentation.
Bootstrap an EMR cluster
Use the following command to bootstrap an EMR cluster. You will need to change the KeyName to the IAM key pair you intend to use for this cluster. You can also edit the instance types to a size appropriate for your use case. Make sure you adjust the Accumulo cache configuration settings accordingly. For instance, if you use a high memory instance type, you will want to increase the TSERVER_XMX parameter which controls the amount of heap space allocated to the JVM running the Accumulo Tablet Server. Additionally, you should adjust the TSERVER_CACHE_DATA_SIZE and the TSERVER_CACHE_INDEX_SIZE to appropriate fractions of the TSERVER_XMX memory to take advantage of the increase in memory.
Note
In the code below, $VERSION = 3.1.2
$ aws emr create-cluster                                \
    --name "GeoDocker GeoMesa"                        \
    --release-label emr-5.2.0                         \
    --output text                                     \
    --use-default-roles                               \
    --ec2-attributes KeyName=__KEY_NAME__             \
    --applications Name=Hadoop Name=Zookeeper Name=Spark \
    --instance-groups                                    \
      Name=Master,InstanceCount=1,InstanceGroupType=MASTER,InstanceType=m3.xlarge \
      Name=Workers,InstanceCount=3,InstanceGroupType=CORE,InstanceType=m3.xlarge  \
    --bootstrap-actions                                                                        \
      Name=BootstrapGeoMesa,Path=s3://geomesa-docker/bootstrap-geodocker-accumulo.sh,Args=\[-t=geomesa-$VERSION-accumulo-1.8.0,-n=gis,-p=secret,-e=TSERVER_XMX=10G,-e=TSERVER_CACHE_DATA_SIZE=6G,-e=TSERVER_CACHE_INDEX_SIZE=2G]
After executing that command, you can monitor the state of the EMR bootstrap process
by going to the Management Console. Find the name (as specified in the aws emr command) of the cluster and click through to its details page. Under the Hardware section, you can find the master node and its IP address. Copy the IP address and then run the following command.
$ ssh -i /path/to/key ec2-user@<ip_address>
This should log you into the master node of the EMR cluster you just started. You can see a list of docker instances by running the following command:
$ sudo docker ps
You should see output similar to the following:
CONTAINER ID        IMAGE                                     COMMAND                  CREATED             STATUS              PORTS               NAMES
6a1ca1114c9b        quay.io/geomesa/geomesa-jupyter:latest    "tini -- start-notebo"   4 minutes ago       Up 4 minutes                            jupyter
e28e07dd20de        quay.io/geodocker/geoserver:latest        "/opt/tomcat/bin/cata"   3 minutes ago       Up 3 minutes                            geoserver
5f4ae17263db        quay.io/geomesa/accumulo-geomesa:latest   "/sbin/geomesa-entryp"   5 minutes ago       Up 5 minutes                            accumulo-gc
b389e8e45542        quay.io/geomesa/accumulo-geomesa:latest   "/sbin/geomesa-entryp"   5 minutes ago       Up 5 minutes                            accumulo-tracer
996327bf6a9f        quay.io/geomesa/accumulo-geomesa:latest   "/sbin/geomesa-entryp"   5 minutes ago       Up 5 minutes                            accumulo-monitor
89738108b7a3        quay.io/geomesa/accumulo-geomesa:latest   "/sbin/geomesa-entryp"   5 minutes ago       Up 5 minutes                            accumulo-master
Ingest Public GDELT data
Make sure you leave enough time for the machine to be completely bootstrapped before running the command to find the docker instances. GeoMesa ships with predefined data models for many open spatio-temporal data sets such as GDELT. To ingest the most recent 7 days of GDELT from Amazon’s public S3 bucket:
$ FILES=$(seq 7 -1 1 | xargs -n 1 -I{} sh -c "date -d'{} days ago' +%Y%m%d" | xargs -n 1 -I{} echo s3a://gdelt-open-data/events/{}.export.csv | tr '\n' ' ')
$ sudo docker exec accumulo-master geomesa-accumulo ingest -c geomesa.gdelt -C gdelt -f gdelt -s gdelt -u root -p secret $FILES
You can then query the data using the GeoMesa command line export tool.
$ sudo docker exec accumulo-master geomesa-accumulo export -c gdelt -f gdelt -u root -p secret -m 100
You can register GDELT as a layer in the provided GeoServer as well. GeoServer is running on port 9090
of the master node. You can access it at http://<ip_address>:9090/geoserver, where <ip_address> is the
address you looked up before sshing into the master node. To register a GeoMesa layer, you’ll first need
to know the internal URL of the Zookeeper instance. Run the following command:
$ sudo docker exec accumulo-master cat /opt/accumulo/conf/accumulo-site.xml | grep -A2 instance.zoo | grep value | sed 's/.*<value>\(.*\)<\/value>/\1/'
Then, in the Stores -> Add New Store -> Accumulo (GeoMesa) dialog in Geoserver, set the values to the following.
DataSourceName: gdelt
accumulo.instance.id: gis
accumulo.zookeepers: $zookeeper
accumulo.user: root
accumulo.password: secret
accumulo.catalog: geomesa.gdelt
Save the store and publish the gdelt layer. Set the “Native Bounding Box” and the “Lat Lon Bounding Box” to
-180,-90,180,90. Save the layer. Then, navigate to the preview page at:
http://<ip_address>:9090/geoserver/cite/wms?service=WMS&version=1.1.0&request=GetMap&layers=cite:gdelt&styles=&bbox=-180,-90,180.0,90&width=768&height=356&srs=EPSG:4326&format=application/openlayers
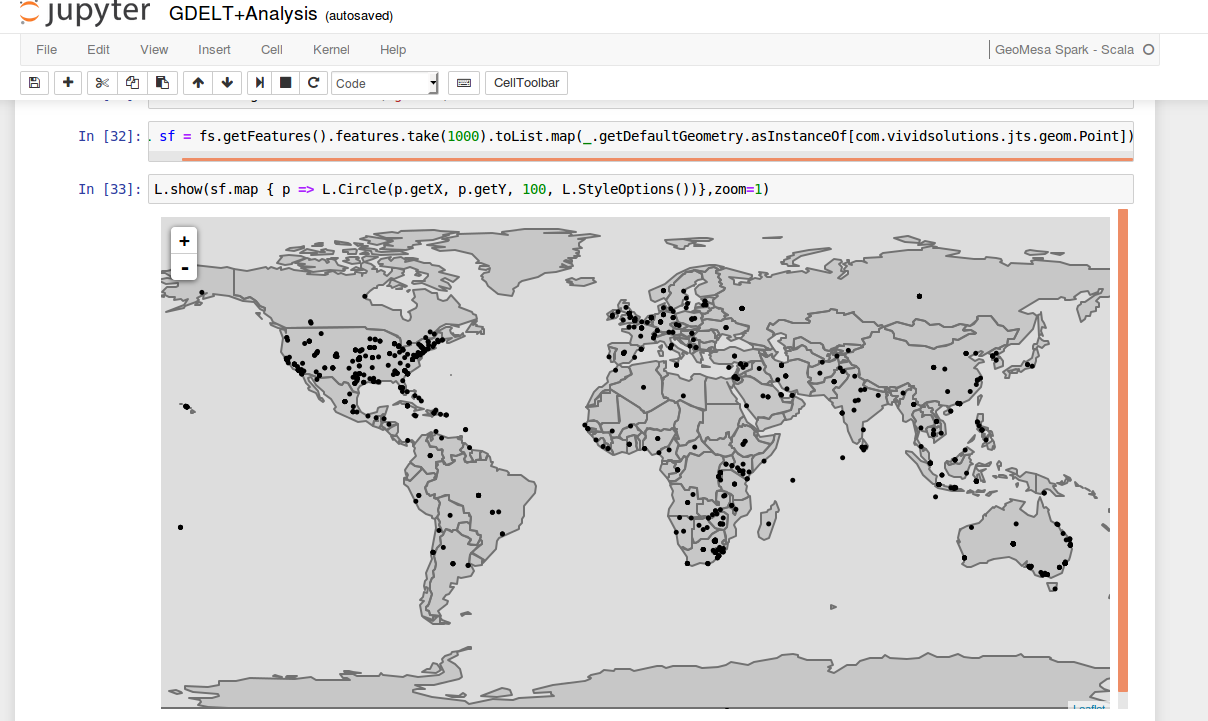
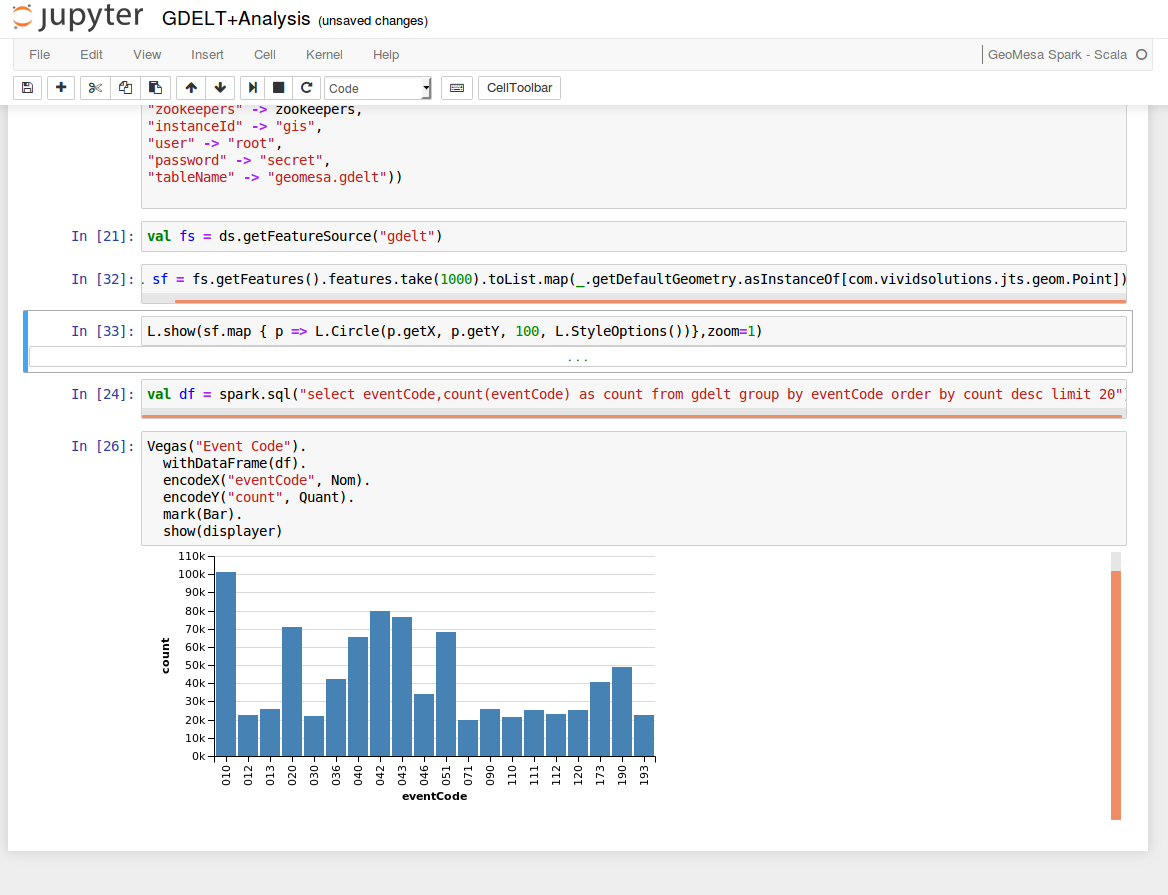
Analyze GDELT with GeoMesa, Jupyter, SparkSQL, Vegas, and Leaflet
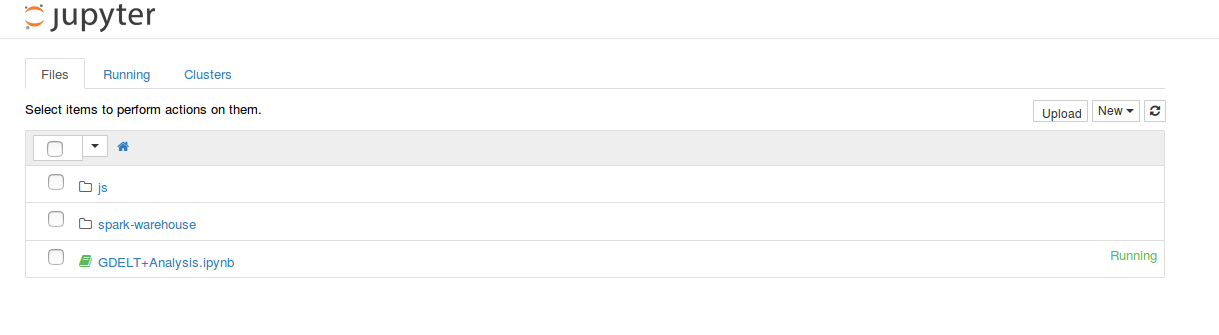
Your bootstrapped spatial analytic environment has an instance of Jupyter notebook configured to analyze data in GeoMesa using SparkSQL and to visualize the results using Leaflet maps and Vegas (Vega-Lite) charts. To start, navigate to http://<ip_address>:8888/ where <ip_address> is the publicly accessible IP address of the master node. You will see a sample GDELT analysis notebook.
Click the GDELT Analysis notebook. Edit the zookeeper value in the first cell by setting it to the zookeeper ip address as described above. Then, select Cell -> Run All from the menu bar. This will execute all the cells in the notebook. Scroll through the sample and you will see some map and chart visualizations at the bottom.